Emulating a Campus Card with PN532
Preface
Some time ago, I published a tutorial on emulating a campus card, but that tutorial was the most basic and simplest one. At the same time, however, it also brought some issues. To ensure security, phone manufacturers do not support emulating encrypted cards with the phone’s NFC. Even if an encrypted card can be emulated, the encrypted functions are not usable (unless you ROOT your phone). In short, the payment function in a campus card cannot be directly achieved through the simulation method in the previous tutorial. How could that be acceptable! The whole point was convenience, and yet the payment function cannot be implemented? That won’t do. Therefore, I looked up a large amount of information, ran into quite a few pitfalls, and, with the help of many tutorials, successfully emulated an encrypted card.
At noon today, I went to the supermarket to buy water, and it worked pretty well.
Screenshots
Preparations
- MifareOneTool Software
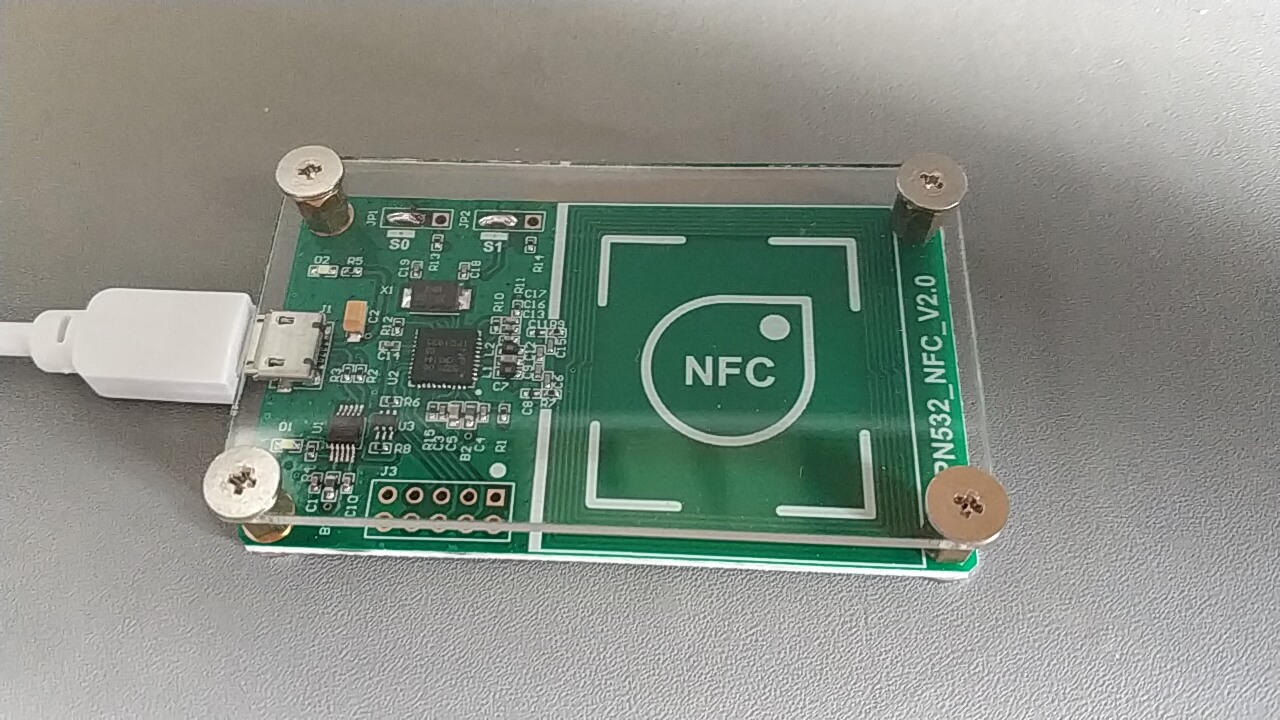
- PN532
- A phone that supports NFC
- Blank CUID card
- Campus card
Cracking the Original Card
- Connect the PN532 to the computer
- Open MifareOne Tool
Follow the steps:
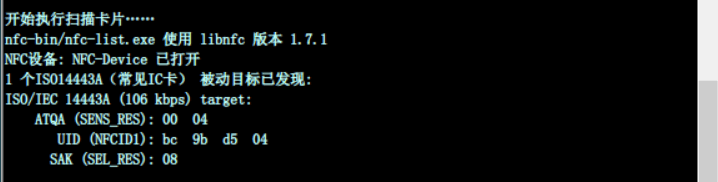
- Detect connection
- Scan the card. Cards with SAK values such as 28 cannot be cracked. The campus card at our school has an SAK of 08, which supports cracking.
- Detect encryption
- One-click crack original card
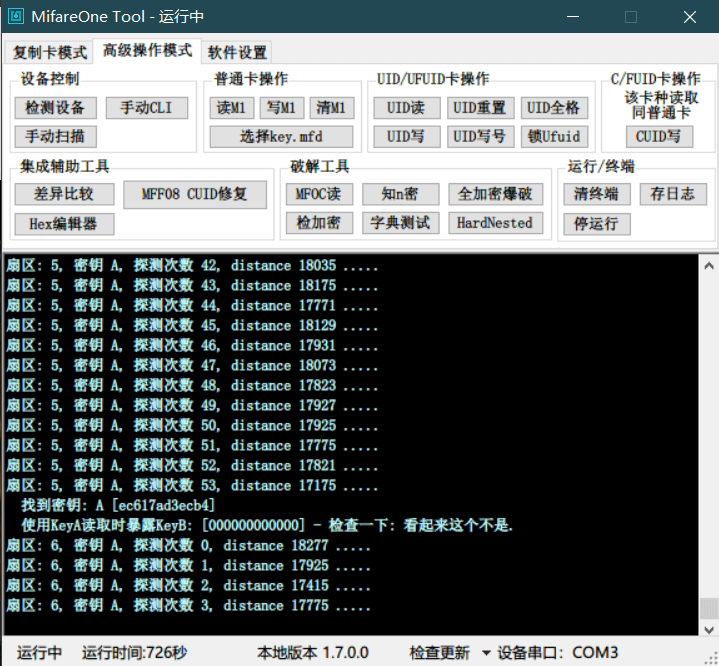
I failed many, many times at this step. It took me an entire morning to successfully extract the original card data. You can try a few more times; maybe I was just extremely unlucky. After the original card data is extracted, a pop-up window will appear automatically, allowing you to specify a file name and save the cracked original card data. The file extension is .dump
At this point, the card is temporarily no longer needed, so you can take it away first.
Writing Data to the Blank CUID Card
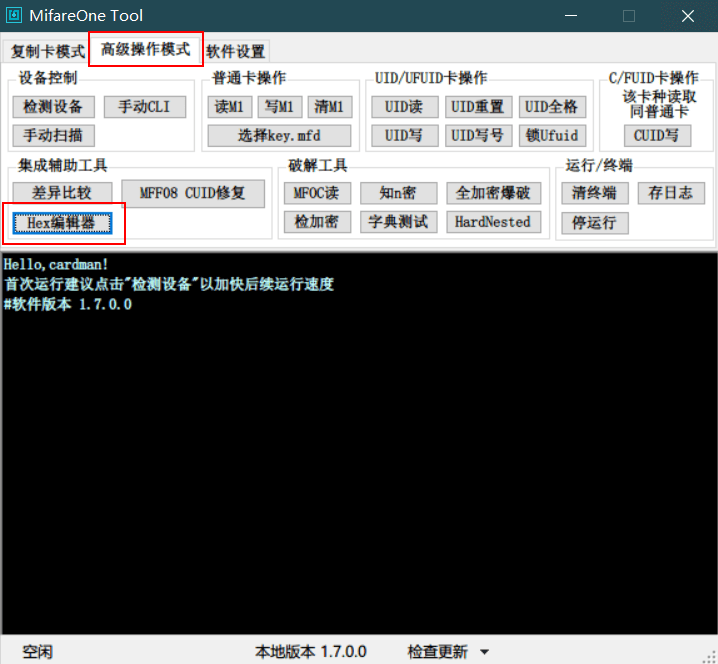
In MifareOne Fool, select the Hex Editor under Advanced Operation Mode.
Open the .dump file you just saved.
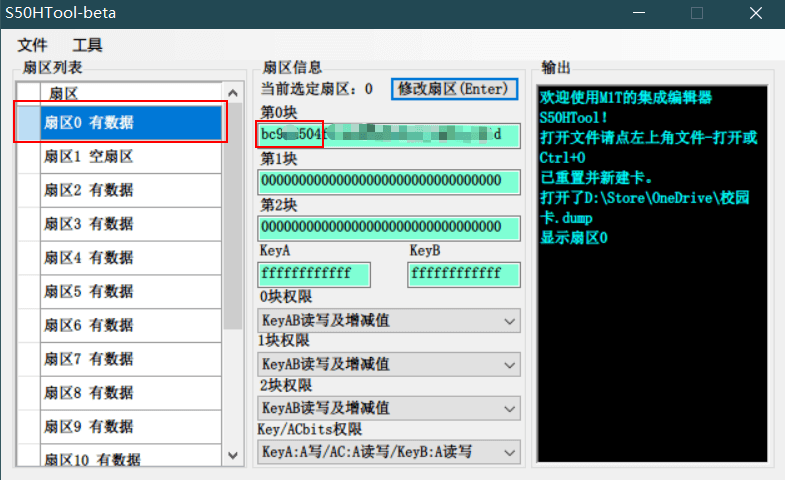
In sector 0, block 0, copy the first eight characters. These characters are the card ID. You can also open the .dump file with Notepad and copy the first eight characters from the first line, without spaces.
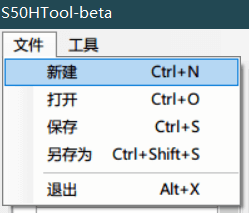
Select New,
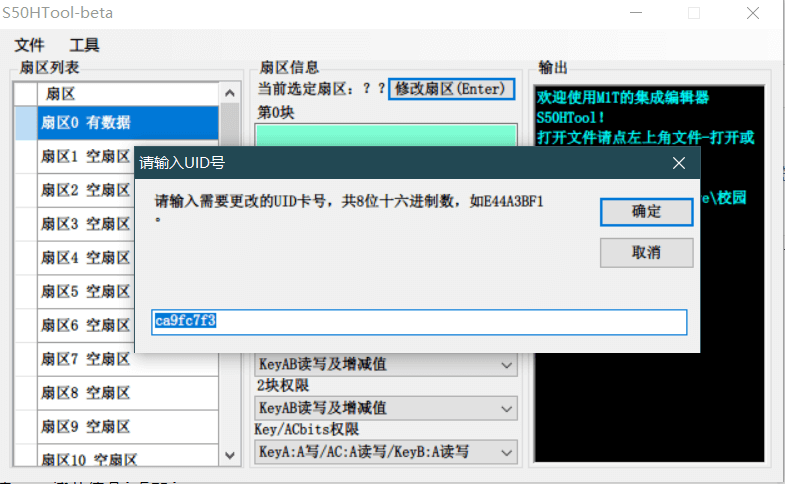
After creating a new file, choose Modify UID from the tools, enter the eight-character card ID you just copied, then save it as a file with the .mfd extension.
Place the blank CUID card on the PN532, then go through the steps of scanning the card and detecting encryption.
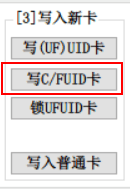
After completing the steps above, select Write C/FUID Card, and choose the file with the .mfd extension! Pay attention to this.
The prompt box below will indicate that writing 64/64 is complete. If it shows 63/64, write the CUID card again. Generally, there should be no problem.
Then you can use your NFC phone’s access card emulation function to emulate this blank CUID card. At this point, you should understand that you have only emulated the card ID; the encrypted part has not been emulated yet. This is not the end.
Writing Encryption to the Phone
💡 The tools for this part are the phone, PN532, and MifareOne Tool. It has nothing to do with the blank card anymore. The blank card has already fulfilled its mission.
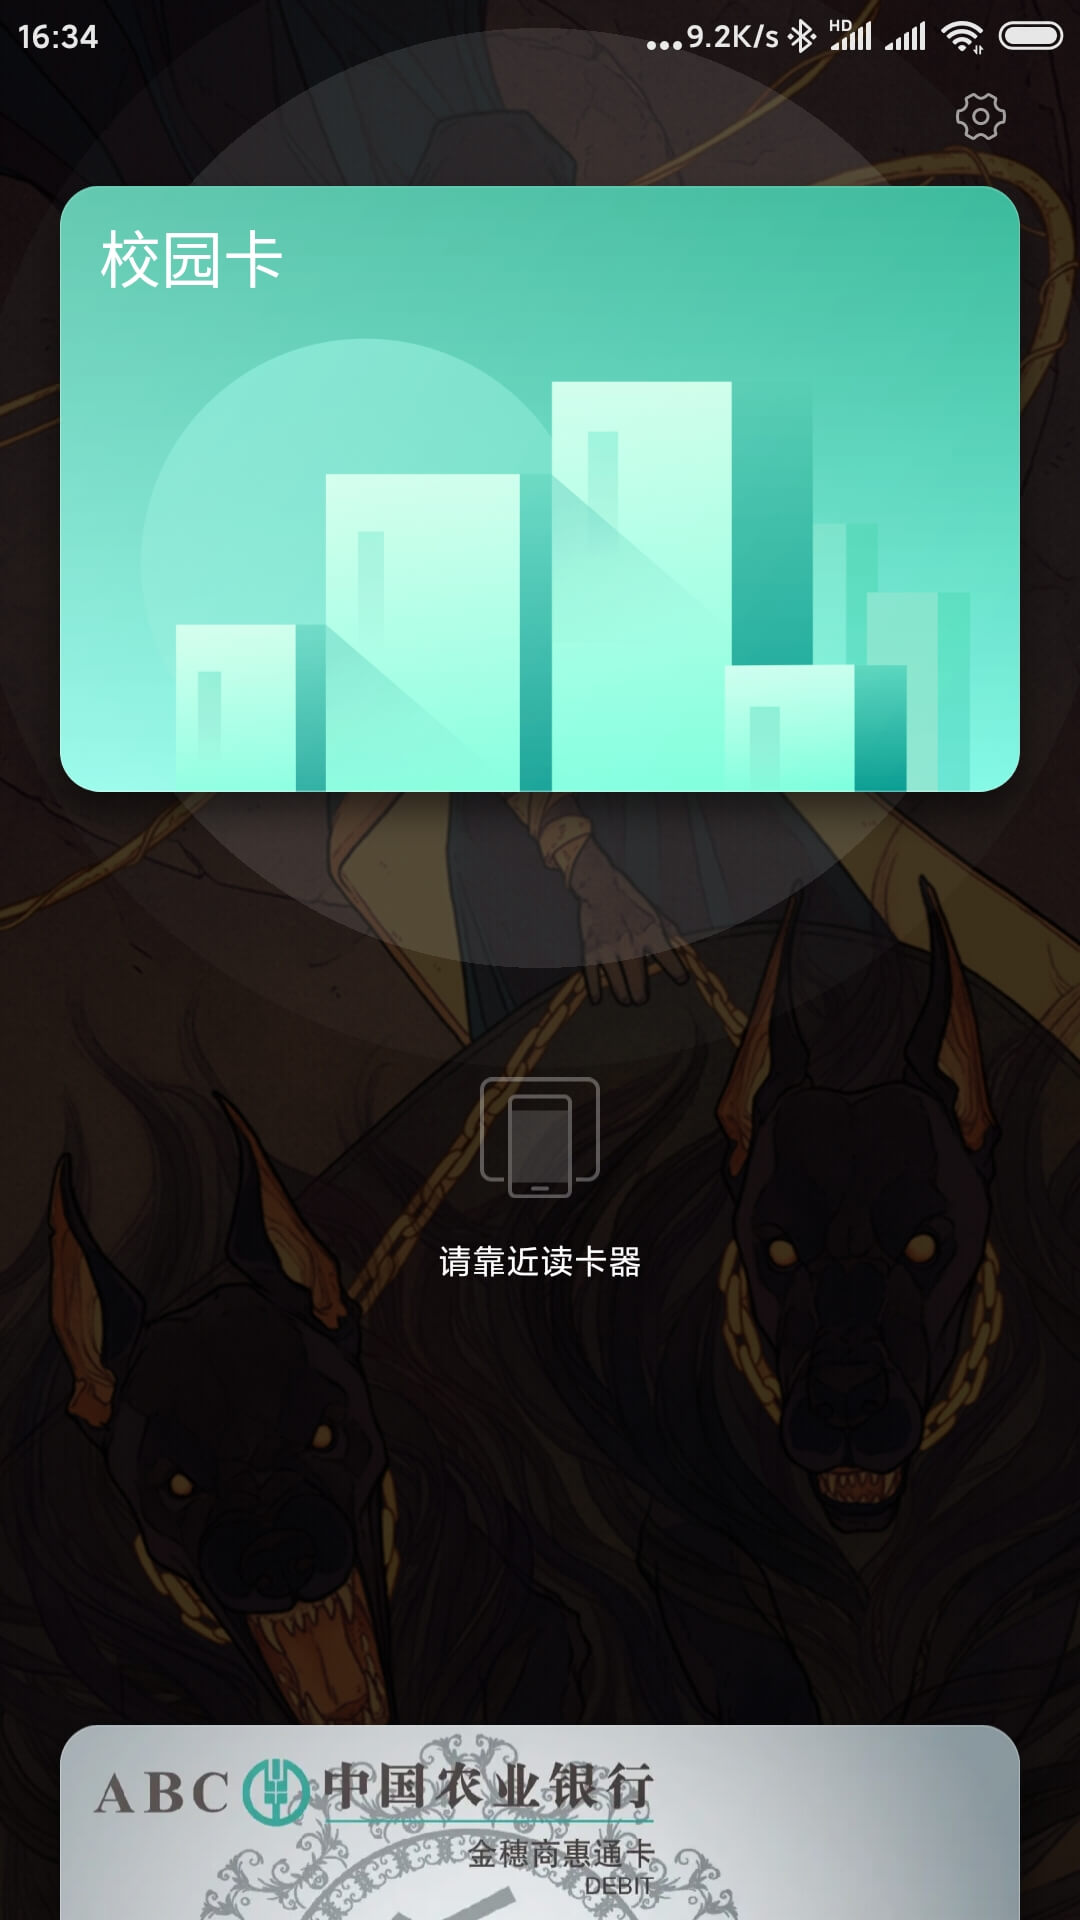
Turn on the NFC function on the phone, then place it on the PN532. At this point, the phone will be recognized as a CUID card.
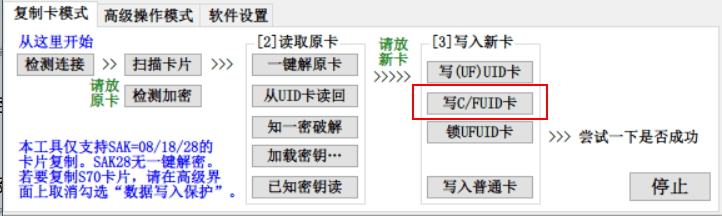
Select Write C/FUID Card again. This time, choose the file with the .dump extension, because only this file contains the encrypted card data. If the prompt box shows 63/64 written, it means success. The card ID will not be read again, so this 1/64 will not succeed.
Congratulations, at this point, your phone can already implement all the functions of the campus card. Similarly, replacing the phone in the third part of the tutorial with a smart band follows the same procedure.
