Automated Translation with Lokalise MCP
Preface
As the saying goes, “laziness” is the primary productive force.
The current i18n localization workflow is relatively cumbersome: English copy is designed first; after that, every word and sentence is translated into up to 20 languages on the Lokalise platform; then the Translation Keys are annotated back into Figma for developers to use.
This “translate -> annotate -> code” workflow is extremely time-consuming in App requirement design. Faced with this highly repetitive and inefficient work, I redesigned an automated solution based on my team’s previous i18n practice experience.
The multilingual platform we currently use is Lokalise, so the solution I describe next will mainly revolve around Lokalise. Other platforms can also take it as a reference.
Basic Idea
To achieve full automation, it actually comes down to two steps:
- Find a translator who knows the business: AI translation is powerful, but it does not understand business terminology (for example, translating “Gas” as “气体”), and it may translate some terms that should not be translated. So we need to inject business context into the AI and set rules for it.
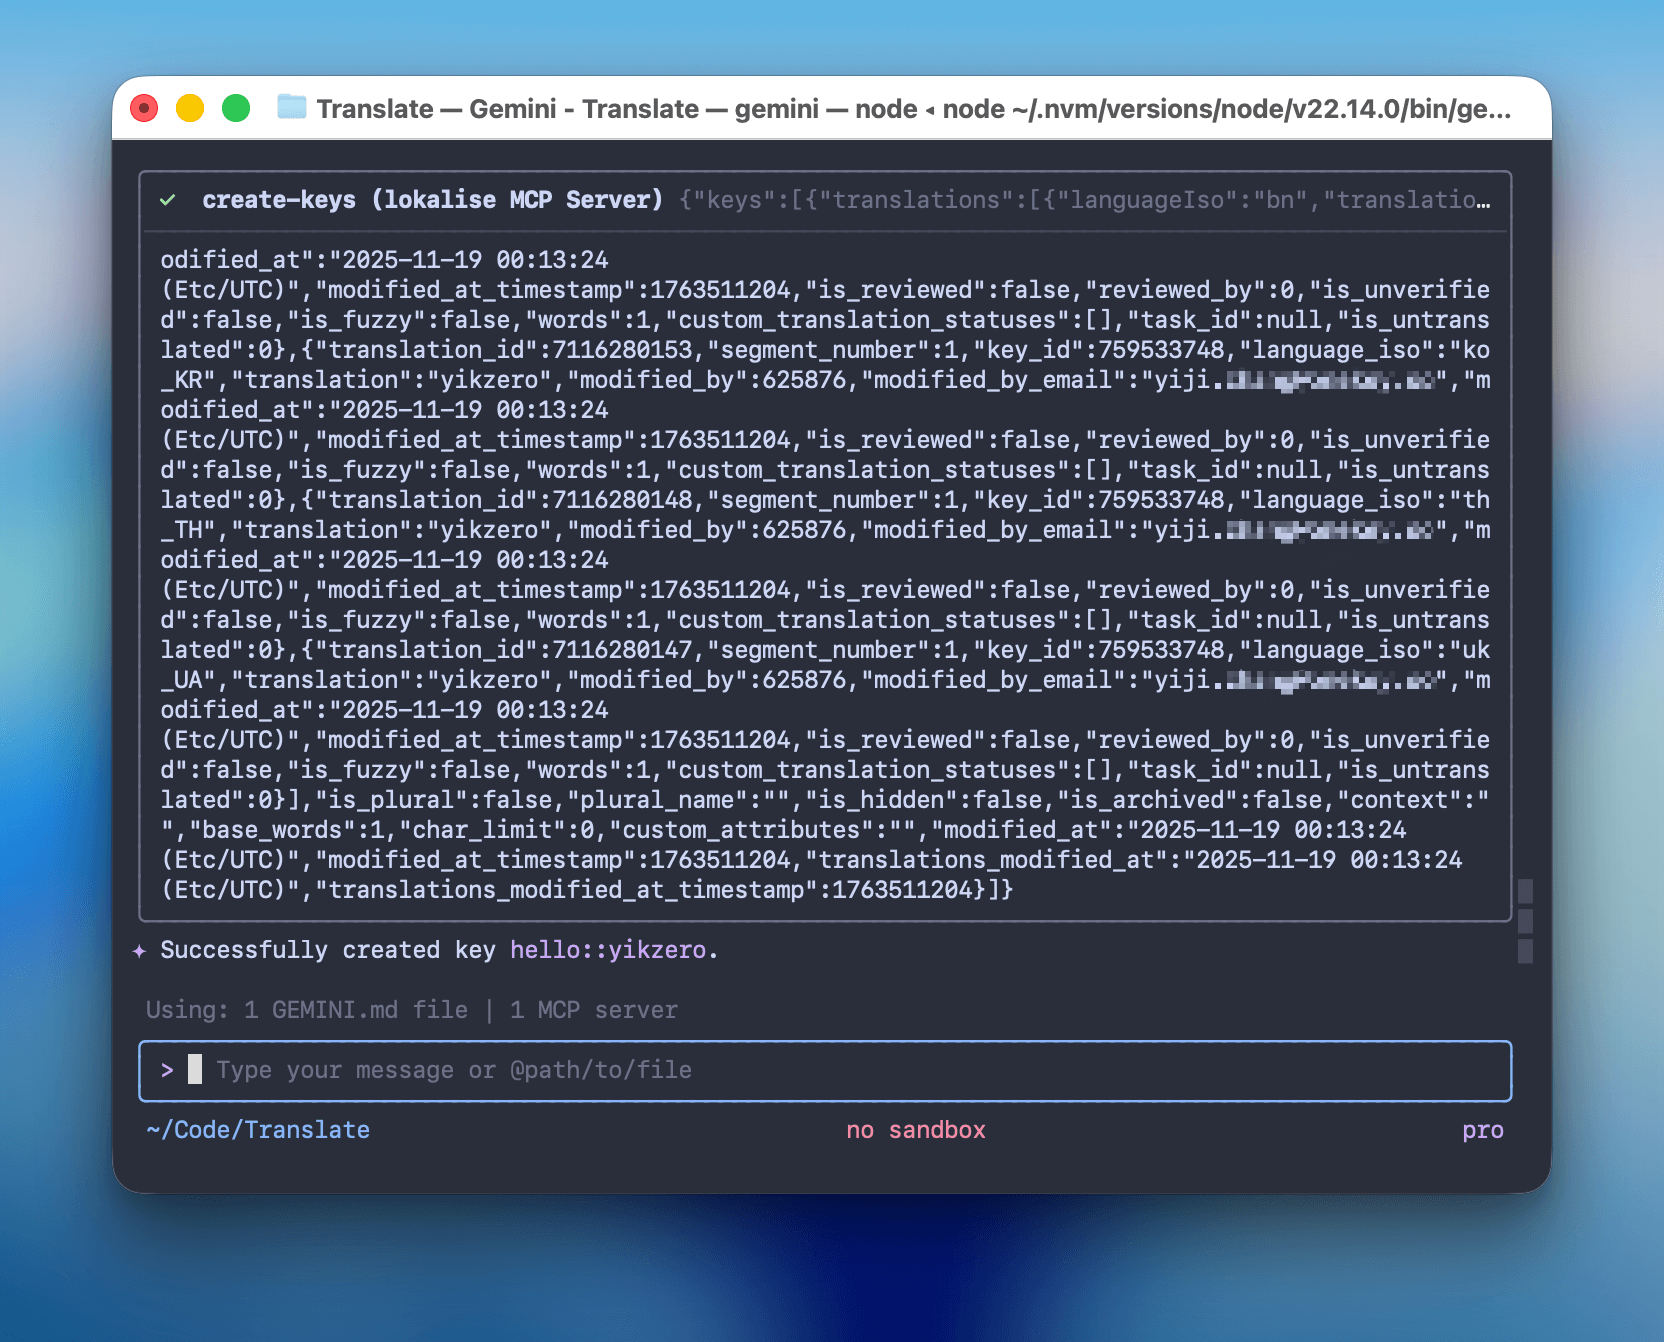
- Give the AI “hands”: After translation, copying and pasting entries one by one into the Lokalise backend is the most exhausting part. Through the MCP protocol, the AI can directly call the Lokalise API.
Final Solution
The tech stack I chose is Node.js + MCP SDK + client tools.
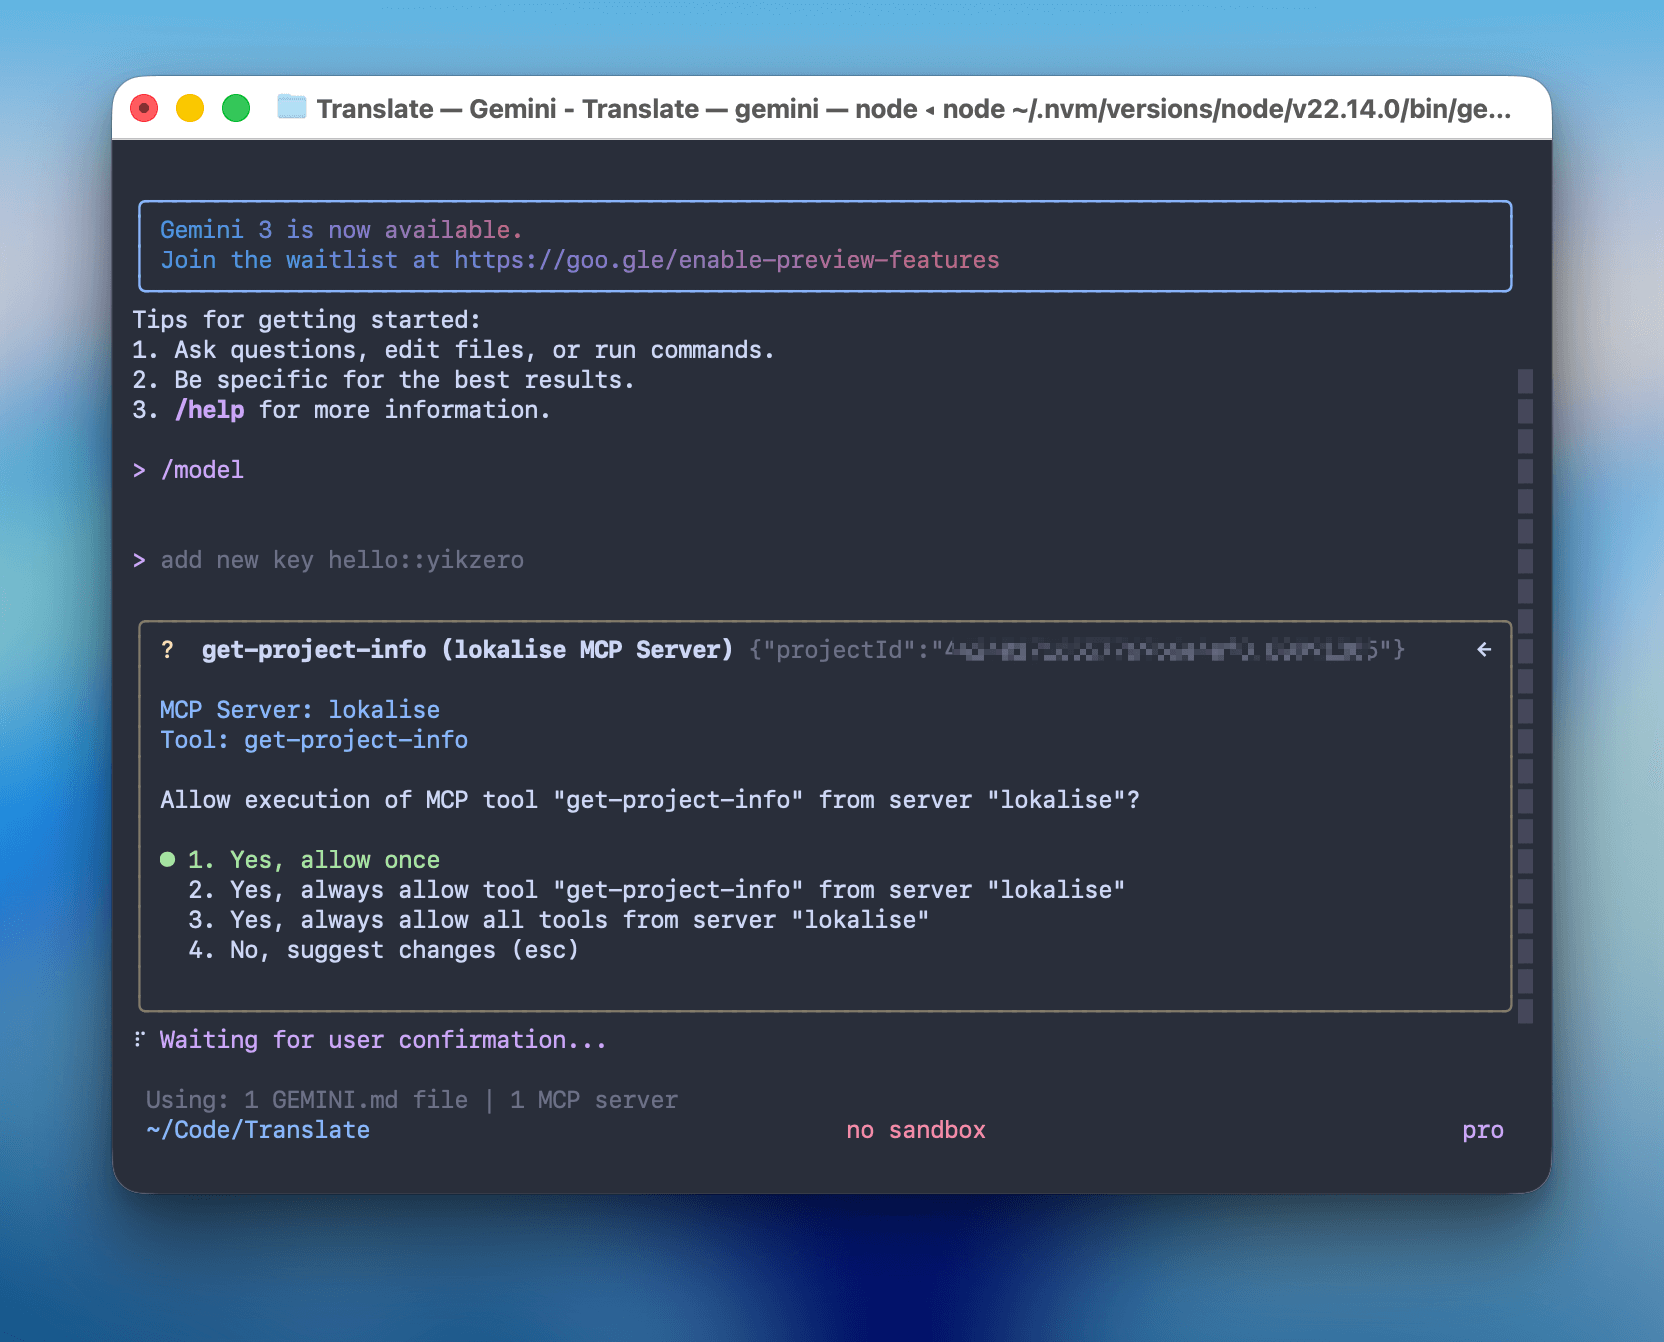
The choice of client is very flexible, as long as it supports MCP. At first I used Claude Desktop, but for friends who prefer the command line, it can be completely replaced with Claude Code or Gemini CLI, with an equally smooth experience.
Gemini may be more skilled at liberal-arts-type tasks like translation, so I recommend it.
1. Core Code (MCP Server)
Lokalise itself provides a complete REST API, which makes it convenient for us to operate it through code.
To write less boilerplate code, I directly used the official Node.js SDK (@lokalise/node-lokalise-api). Referring to the MCP official documentation, I wrapped these APIs into an MCP Server.
It mainly exposes two tools to the AI:
search-keys: Used for duplicate checking, to see whether someone has already translated it.create-keys: Used to do the work, writing the multilingual copy generated by the AI into the backend.
The logic is actually not complicated. In essence, it is just acting as an API relay:
Click to view the core index.ts code
#!/usr/bin/env node
import { McpServer } from "@modelcontextprotocol/sdk/server/mcp.js";
import { StdioServerTransport } from "@modelcontextprotocol/sdk/server/stdio.js";
import { LokaliseApi, SupportedPlatforms } from "@lokalise/node-api";
import { z } from "zod";

const LOKALISE_API_KEY = process.env.LOKALISE_API_KEY;
const DEFAULT_PROJECT_ID = process.env.DEFAULT_PROJECT_ID;
const DEFAULT_PLATFORMS = ["web", "ios", "android", "other"];
const PLATFORMS = (
  process.env.PLATFORMS
    ? process.env.PLATFORMS.split(",").map((p) => p.trim())
    : DEFAULT_PLATFORMS
) as SupportedPlatforms[];

const lokaliseApi = new LokaliseApi({ apiKey: LOKALISE_API_KEY });

const server = new McpServer(
  {
    name: "lokalise-mcp",
    version: "1.0.0",
    author: "yikZero",
  },
  {
    capabilities: {
      tools: {},
    },
  }
);

// ... get-project-info 和 search-keys 工具代码略 ...

server.registerTool(
  "create-keys",
  {
    title: "Create Keys",
    description: "Creates one or more keys in the project",
    inputSchema: {
      projectId: z
        .string()
        .describe(
          "A unique project identifier, if not provide, first use get-project-info tool to get the project id"
        ),
      keys: z.array(
        z.object({
          keyName: z.string().describe("Key identifier"),
          platforms: z
            .array(z.enum(["web", "ios", "android", "other"]))
            .describe(
              "Platforms for the key. If not provided, use the default platforms: " +
                PLATFORMS.join(", ")
            ),
          translations: z
            .array(
              z.object({
                languageIso: z
                  .string()
                  .describe(
                    "Unique code of the language of the translation, get the list from the get-project-info tool"
                  ),
                translation: z
                  .string()
                  .describe("The actual translation. Pass as an object"),
              })
            )
            .describe("Translations for all languages"),
        })
      ),
    },
  },
  async ({ projectId, keys }) => {
    const response = await lokaliseApi.keys().create(
      {
        keys: keys.map((key) => ({
          key_name: key.keyName,
          platforms: key.platforms,
          translations: key.translations.map((t) => ({
            language_iso: t.languageIso,
            translation: t.translation,
          })),
        })),
      },
      { project_id: projectId }
    );

    return {
      content: [
        {
          type: "text",
          text: JSON.stringify(response),
        },
      ],
      structuredContent: response as any,
    };
  }
);

// ... update-keys 工具代码略 ...

async function main() {
  const transport = new StdioServerTransport();
  await server.connect(transport);
  console.error("Lokalise MCP Server running on stdio");
}

main().catch((error) => {
  console.error("Fatal error in main():", error);
  process.exit(1);
});
2. Training the AI (Prompt)
This is actually similar to the Project feature in Claude’s web version, where it lets you preset some system prompts and provide some materials. These all serve as background knowledge for the AI, making it easier for it to work better.
So to make the AI act like an experienced employee, I wrote all the OneKey terminology (Glossary) and Key naming conventions (Snake Case) into a GEMINI.md file. If you are using Claude Code, you can also write a CLAUDE.md.
There is actually also a unified AGENTS.md now, but the grand unification has not yet been completed.
View details of the GEMINI.md prompt
You are a professional web3 project i18n translation expert specializing in translating word/sentence into multiple languages for software localization.

<onekey_background>
OneKey is a comprehensive cryptocurrency wallet solution...
</onekey_background>

<i18n_supported_languages>
English (United States), Bengali, Chinese Simplified...
</i18n_supported_languages>

<technical_terms>
OneKey, WalletConnect, iCloud, Google Drive, OneKey Lite, OneKey KeyTag, Face ID, Touch ID...
</technical_terms>

<translation_namespaces>
global, onboarding, wallet, swap, earn, market, browser, settings, prime
</translation_namespaces>

Translation Process:

1. Direct Translation:
   - Provide a literal translation of the word/sentence into all supported languages
   - If the text contains a number, replace it with {number}
   - Preserve all technical terms and variables, like {variableName}, HTML tags, etc

2. Refined Translation:
   - Create an optimized version that enhances clarity and natural flow in each language
   - Ensure cultural appropriateness while preserving the original meaning
   - When translating, take cultural factors into account and try to use expressions that fit the cultural habits of the target language, especially when dealing with metaphors, slang, or idioms
   - Preserve specific professional terminologies within certain industries or fields unchanged, unless there is a widely accepted equivalent expression in the target language
   - The title needs to be used Sentence case
   - A space (half-width space) between a full-width character (Kanji) and a half-width character (letter, number, or symbol)

3. Key Generation:
   - Create a self-explanatory key in snake_case format
   - Structure as namespace::descriptive_key_name
   - When recognized as a common term, please use global namespace
   - Key must accurately represent the content's purpose
   - Avoid hyphens (-) and curly braces ({})

Output Format:
1. Key: [namespace::descriptive_key_name]
2. Direct Translation Table (brief reference)
3. Refined Translation Table (primary focus)

Items need checked:
1. If the user provides the Key, use the user-provided Key.
2. If there is an obvious spelling error, I need your help to correct it and inform you.
3. After the translation is completed, need to call the tool to create/update the corresponding key.
4. First, provide the Table, then create or update the Key based on the translations in the Refined Table.
3. Configuration File
Finally, in the MCP configuration file (such as claude_desktop_config.json or .mcp.json), mount the Server we wrote.
{
  "mcpServers": {
    "lokalise": {
      "command": "node",
      "args": ["/Users/yikzero/Code/lokalise-mcp/build/index.js"],
      "env": {
        "LOKALISE_API_KEY": "xxxx969xxxxxxxx7c18760c",
        "DEFAULT_PROJECT_ID": "44xxxxxe4ef8.8099xx5",
        "PLATFORMS": "ios,android,web,other"
      }
    }
  }
}
Practical Case
Fully Automated Workflow from Design Draft to Code
Take the “network detection feature” we recently developed as an example. This is a relatively complex business scenario involving prompts for various network error states, and each error message needs to be i18n-ized. In total, there are over 50 text strings that need translation. If handled manually, translation, key filling, and copy alignment alone would probably take an entire day.
Here is how I solved it:
- Claude Code organizes requirements: Let Claude analyze the code logic, organize all scenarios that need translation, and output a Markdown list.
- Gemini translates: Feed the Markdown to Gemini 2.5 Pro (CLI), and let it translate based on our built-in Prompt. It will properly handle professional terms such as “VPN” and “Proxy” according to the rules in
<technical_terms>, and automatically generate standardized Keys (such assettings::network_error_timeout). - Claude Code replaces code: After receiving the translation draft containing the Keys, throw it back to Claude Code and let it replace the hardcoded strings in the code with one click.
Claude is good at code analysis, Gemini is good at multilingual translation, and MCP is responsible for breaking through data silos. Each does its own job, and the efficiency improvement is more than just a little.
Daily Fragmented Translation
For small day-to-day requirements, it also works great with design drafts.
For example, after I just finished drawing a new Onboarding modal in Figma, I can casually take a screenshot and throw it to the AI, saying:
“This is a new import wallet modal. Process the copy inside, and put the Keys under onboarding.”
The AI will automatically execute: visual recognition (extract copy) -> dual translation (literal translation + refined translation) -> automatic entry (write through MCP).
All you need to do is have a cup of coffee and wait for the review.
Summary
Use Claude to write an MCP Server, then provide it to Gemini CLI for calling, so they can work better. At this point, I don’t even know who the capitalist is anymore (just kidding).
The related code mentioned in this article has all been open-sourced. Interested friends can get it here:
- MCP Server: lokalise-mcp
- Integrated configuration example: onekey-translate